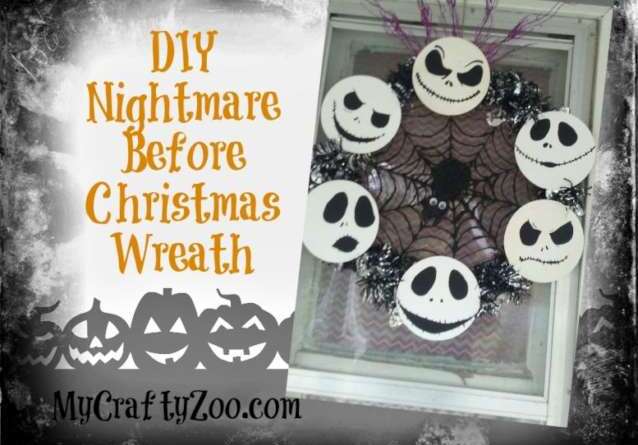
Nightmare Before Christmas Wreath DIY
Nightmare Before Christmas Wreath is absolutely fantastic! Simple, step by step instructions will have you a fantastic new wreath in no time! We’ve also got a bit of a collection of other super fun Halloween projects! Nightmare Before Christmas has been played so many times in my house it’s insane. We hope you enjoy this DIY Nightmare Before Christmas Wreath. My nephew can’t wait to hang it in his room and was devastated that it goes on the door first!
“Boys and Girls of every age, wouldn’t you like to see something strange? Come with us and you will see. This our town of Halloween!”
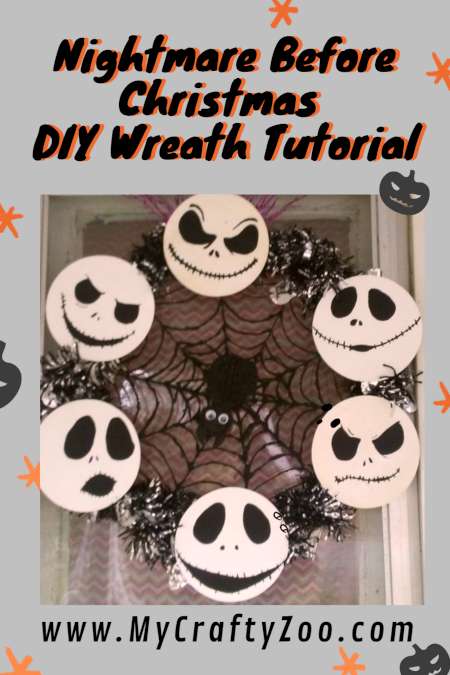
How to Make a Nightmare Before Christmas Wreath
Crafts By Dawn
Happy Halloween everyone! Looking for something original or new for your October decorations? Try this awesome The Nightmare Before Christmas wreath. For just around ten dollars you can make a one of a kind decoration that will look awesome for years to come.
 All you will need is:
- A wire wreath
- 6 wooden circles (for larger wreaths, use larger circles)
- Black and white acrylic paint
- Nightmare Before Christmas
- Hot glue
- Twine (optional)
*most of the supplies you can get at your favorite craft store. I got my garland at the local Dollar Store*
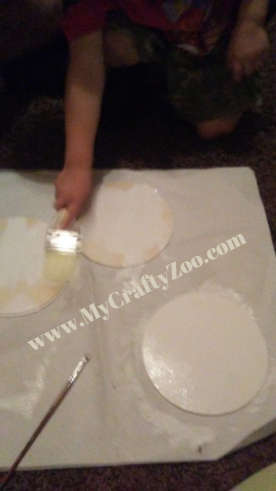
Step one
Paint the wooden circles white and let dry. Pick out your favorite Jack Skeleton facial expressions and draw them on the circles once the white paint is dry. For those whose free hand skills are not up to par, you can print off stencils and use them. The paint over with black paint and let dry.
Step two
Lace the garland trough the wire wreath. I secured mine with twine but that is optional.
Step three
Place the finished Jack faces where you like on the wreath. You can glue them down if you like, however I hot glued some twine to the back so I could just tie them to the wire wreath.
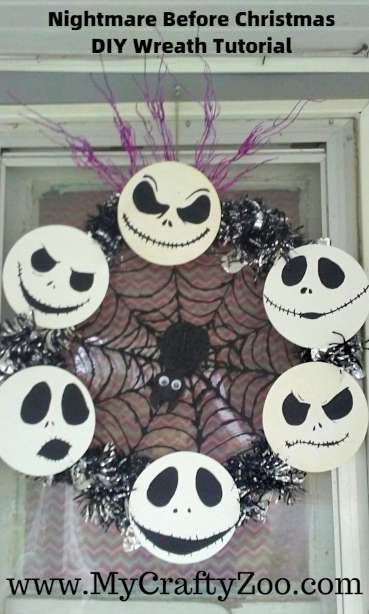
Once the faces are secured your wreath is ready to hang.
Optional DIY Spider Web
My four year old decided that we needed a spider web in the center. I had extra hot glue so I made a web out of hot glue (use hot glue and parchment paper to do that. Simply glue the web to the parchment, once it is dry you can carefully remove the web.
We painted it first then removed it once it was dry. I just hot glued the web to the back of the wreath…honestly it would have been just as easy to buy fake webbing from the dollar store, but I didn’t want to make another trip into town or spend any more money)
I had a few things in our Halloween decoration supplies that I could have added as well. Like the purple twigs that I tied to the top. You can add whatever Halloween decor you choose and make it as original as you like.
The kids loved helping with this. I let them choose the facial expressions, wrap the wreath in garland, and let them pick where to hang it. (Although my son was convinced it would look best in his room. Lol.)


Pingback: Effective Delegation Quotes Transform Leaders - 19 Leaders Quotes
Pingback: Linky Party: New Awesomeness! Don't Miss Out this week! ⋆ My Crafty Zoo
Pingback: Wonderful Wednesday
Pingback: Oh My Heartsie Girls Wordless Wednesday, October 28, 2020 - Clearissa Coward's Command Center
I love this movie and have lost count of how many times I have seen it. This is so cute!
Pingback: DIY Halloween Party Planning Sponsored By @MisterSinger ⋆
This is an awesome wreath, I love the Nightmare Before Christmas! I am going to have to make one of these with my daughter. Thank you so much for sharing!
We’re glad you love it! Would love to see pics of your finished product!
That wreath looks very cool! I think I am going to get supplies and make one this weekend. Thanks.
Thanks! Hope you’ll share pictures with us! Have fun crafting!