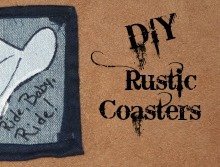
These DIY Rustic Placemats are super easy, adorable, and made with so much love! Check out this turorial and make your own out of re-purposed materials!
For those of you who don’t know, I’ve not had my sewing machine long. That’s the only excuse I have for not being able to sew anything in a straight line! LOL. I suppose I will get it eventually, but right now I’m practicing with my projects.
Although I realize the smart thing would be to practice and THEN make projects, but then that would set some sort of precedence and I would have to read directions before putting things together and read them before playing with new electronic gadgets, would hate to go and do something like that!
It would open up so many doors for have to do things the way they are supposed to be done, and I just don’t think I could bare the perfection!
I wanted to do placemats to go with the coasters I made. Rustic still looks good without perfection, so I figured I would be okay! I got the pattern from Jo’s Country Junction, it was free. Go and check it out.
DIY Rustic Placemats & Pattern
28 squares cut at 2 ½ by 2 ½
4 pieces of fabric 10 ½ x 14 ½
4 pieces of backing 16 x 20
Directions:
1. Sew 5 squares end to end. Press seams open. Make 8 sets.
2. Sew a set on each end of the 10 ½ x 14 ½ materal. Press seams open.
3. Sew 8 squares together, press seams open.
4. Sew them to each side of the 10 ½ x 14 ½ fabric. Press seams open.
5. Turn both sides of the placemats front to front, sew together leaving a portion unsewn.
6. Using the hole, pull the material right side out. I like to start with the corner so that I can ensure the corners are pulled out of the way.
7. Once it’s pulled out all the way, fold in the unsewn parts and sew them together. I went all the way around the mat to keep there from being a line, as my sewing machine isn’t bulky enough to go through close to the edge.
Well, here is my not so straight lines and cutting! Hope you like them!!!
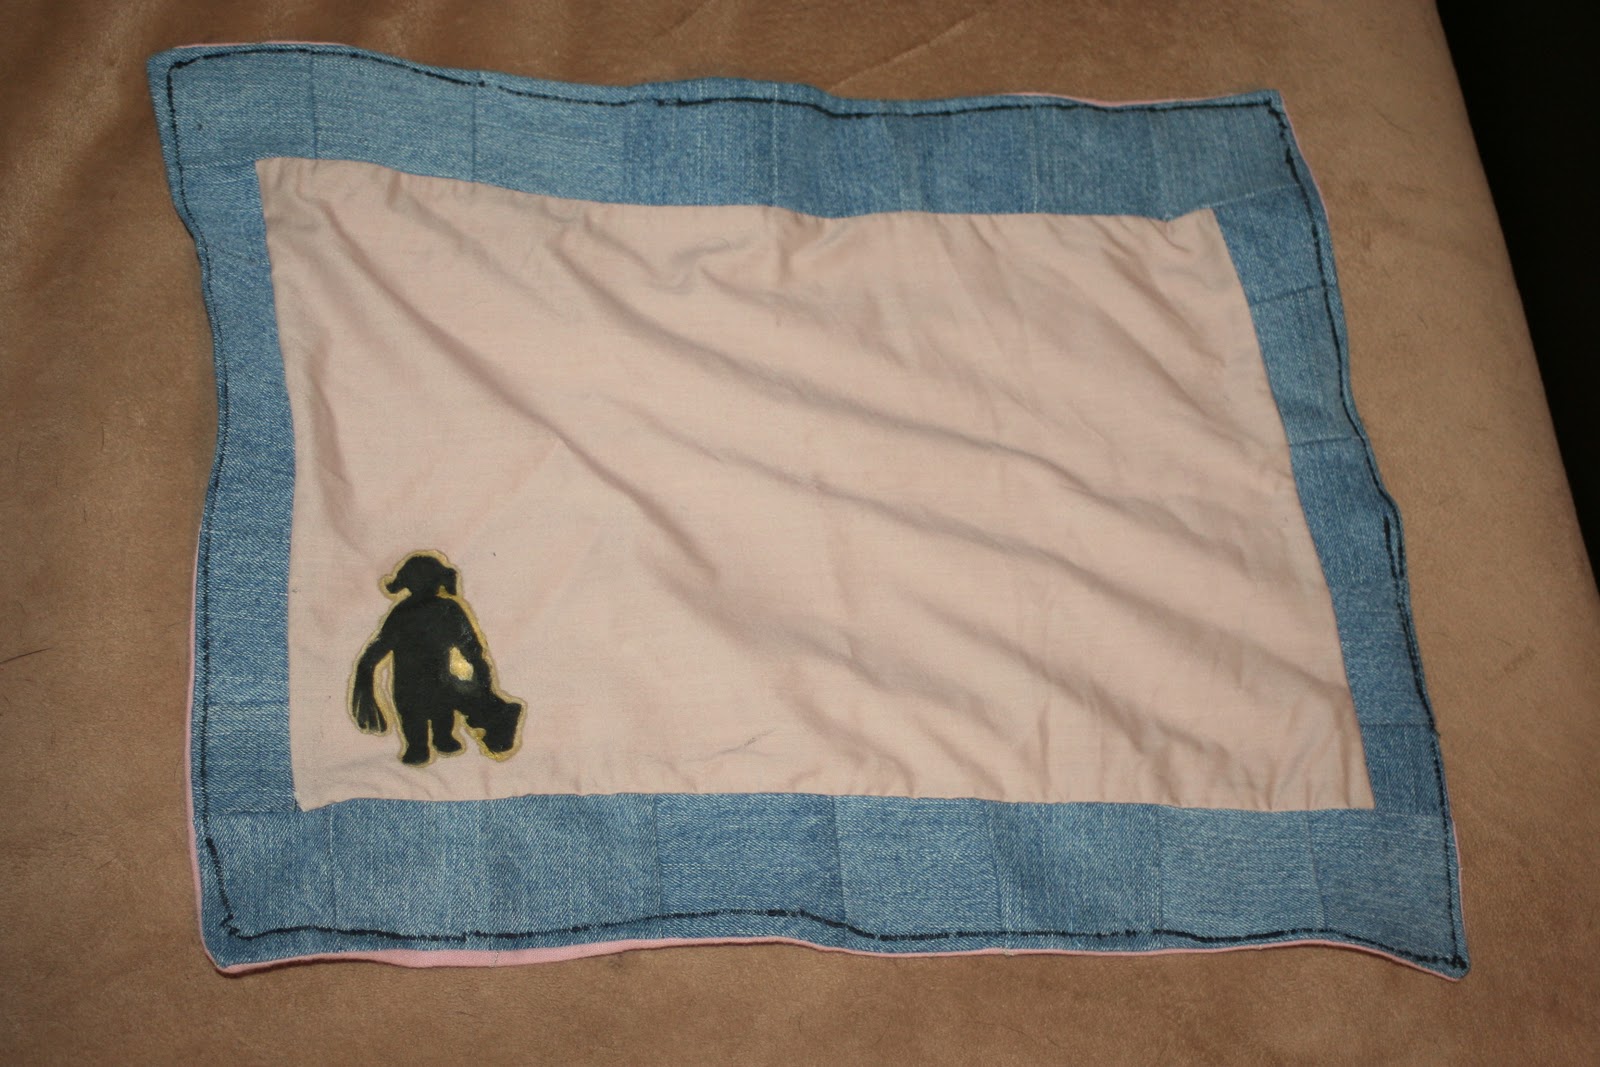
I used my Cricut using A Child’s Year cartridge. I cut the images at 4 inches. Then I used black vinyl paint with a toothbrush to brush it into the material.
I chose images that would go with memories from my childhood, since these are gifts for my Mom. They may not be perfect, but she’ll be too distracted by the good memories to see the flaws!!! (See how tricky I am!!!)
As a personal side note, I’ll let ya in on some of the stories!!! Okay, the first one is a reminder of my brother when he was little.
From 3 on up, he loved fishing. He had this professional sized tackle box they had found in the lake and given to him.
He also had a five gallon bucket, to carry the fish in of course! He would carry this bucket, tackle box, and his fishing pole down the hill to go fish in our pond and our neighbor’s pond. He would be gone hours. Meanwhile, our wonderful neighbors would be taking him snacks and drinks. Then, after those long hours of hard work he would come walking up the hill, slowly with his body dragging as if he had been working at the factory all day!
He once brought back a perch that he loved. It was going to be his pet. He kept it in the bathtub until Mom could convince him to let us keep the fish in the horse troff. He cried that night, worried about his poor fish.
After he finally went to bed, I guess Mom snagged the fish and took it back to the pond. He cried. A lot. Yep, my baby brother. All grown up now, but I have so many stories like this one!!! 😀 Love that kid!
[amazon_link asins=’B0762G9DWM,B075CSYD24,B07CWYK7K1,B077G7SPHK,B01N0FYUN7,B01DYRR4HC|B078WVJ16T,B078WS5M1W,B078WVWK5R,B078WV3V35,B07G11PG1C|B00686STFS,048624525X,B0716TMPP8,B01K9FV8II,B01CDEEP56|B01KOV1VMK,B000OR9BFY,B07D7J1NC8,B002L69IMC,0688131263|B01KOV1VMK,B01KLKHE3Y,B01K9AJ5N8,0789429039,B0784S8PNJ,B0147KEKDQ,0517020165|B00686STFS,B01AMNQI28,B07HKP9CHV,B01MAWBPD8,B0147KIF3W,B074P774SW’ template=’ProductCarousel’ store=’myc084-20|mcz1478-21|mcz9963-21|mcz4567-21|mcz123-21|canmcz-20′ marketplace=’US|IT|MX|FR|DE|CA’ link_id=’4a14f603-c7f6-11e8-af43-e9333215da7c’]
 Materials:
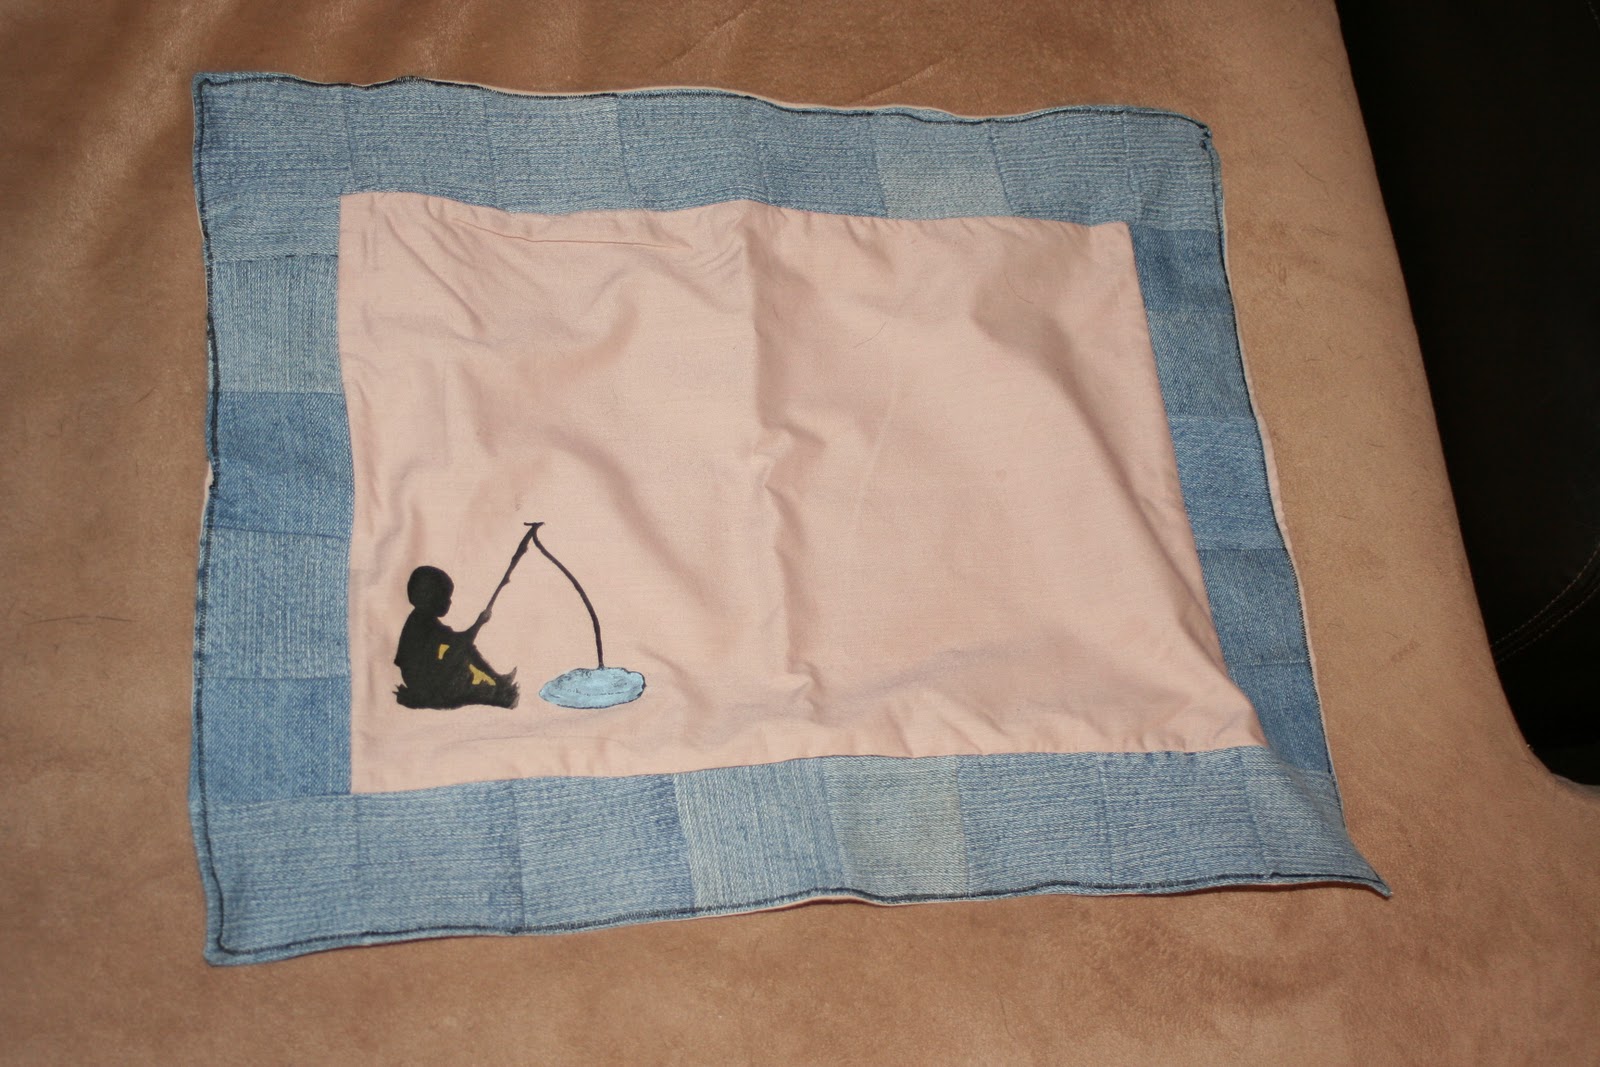


I love this idea and it came out so pretty!! I’ll have to give this a try sometime.
@tisonlyme143
Thanks! I made them as a gift for my Mom and she absolutely loved them!
Love these! And it’s something for the kids to be able to make & actually use while we’re doing distance learning. Thanks so much!
These are so cute. We decided to do our home rustic. This would be a fun craft to do. Thank you so much for sharing
Este blog é uma representação exata de competências. Eu gosto da sua recomendação. Um grande conceito que reflete os pensamentos do escritor. Consultoria RH
Aw what a wonderful gift for your mom!
Thanks for linking up to Show & Share!