Giani Granite Paint for Countertops will completely transform any space. We’ll walk you through how to do it!
Okay, so some of you know we bought a house recently and have been remodeling. There were only two rooms that didn’t get a makeover, the existing bathrooms. (We added a new bathroom as well, but that’s another day!) The main bathroom is….well….lacking, but so were funds so we decided to make it our work in progress. Tile and a new shower are in store, but not anytime soon!
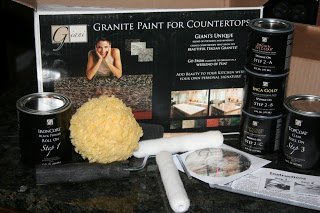
The old counter top was laminate and installed probably when the house was built in 1976. Needless to say in was in need of a facelift so when the chance to try out Giani’s Granite Paint for Countertops came, I jumped at it!
I will admit that painting is NOT my thing. I stink at it! But, I figured there was no way I could make it look worse than it already did, so I risked it! I’m proud to say that it looks really great! I really love the way it turned out! So, check out this tutorial and then consider re-doing your old countertops!
Start out by wiping down your counter really well. You want to get off any debris or bumps so that they don’t show in the paint! Next tape off everything. They suggested 2 layers of tape around the wall, I suggest three!
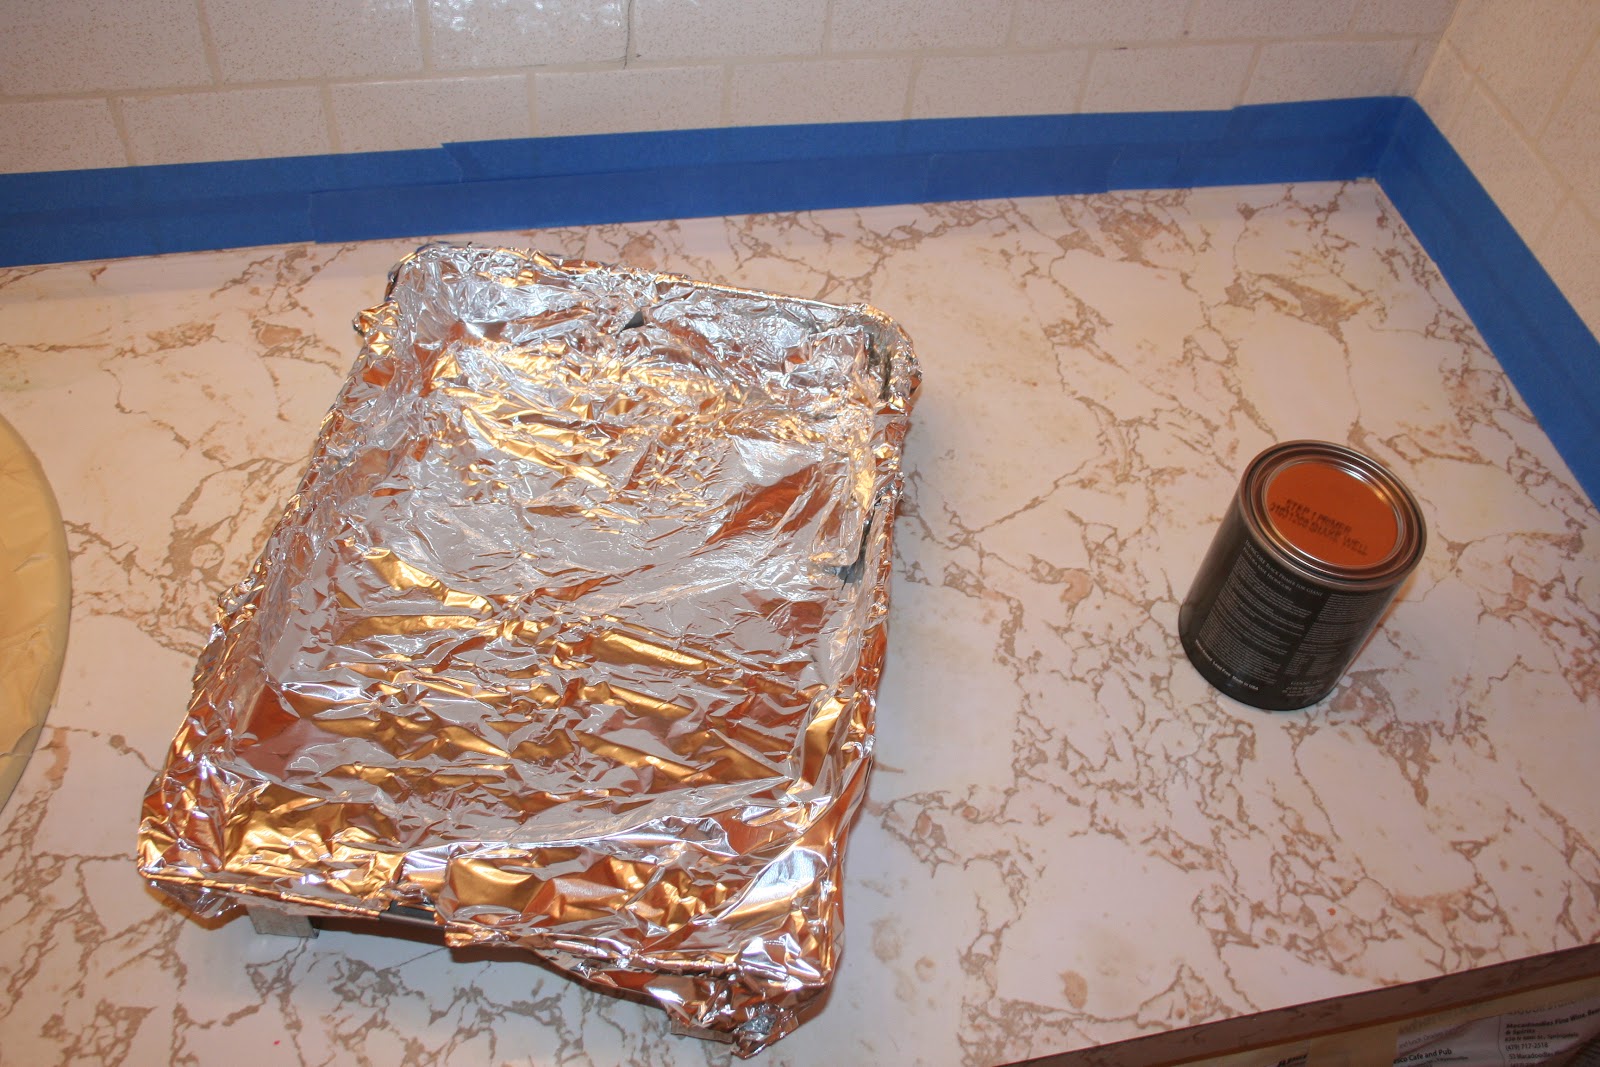
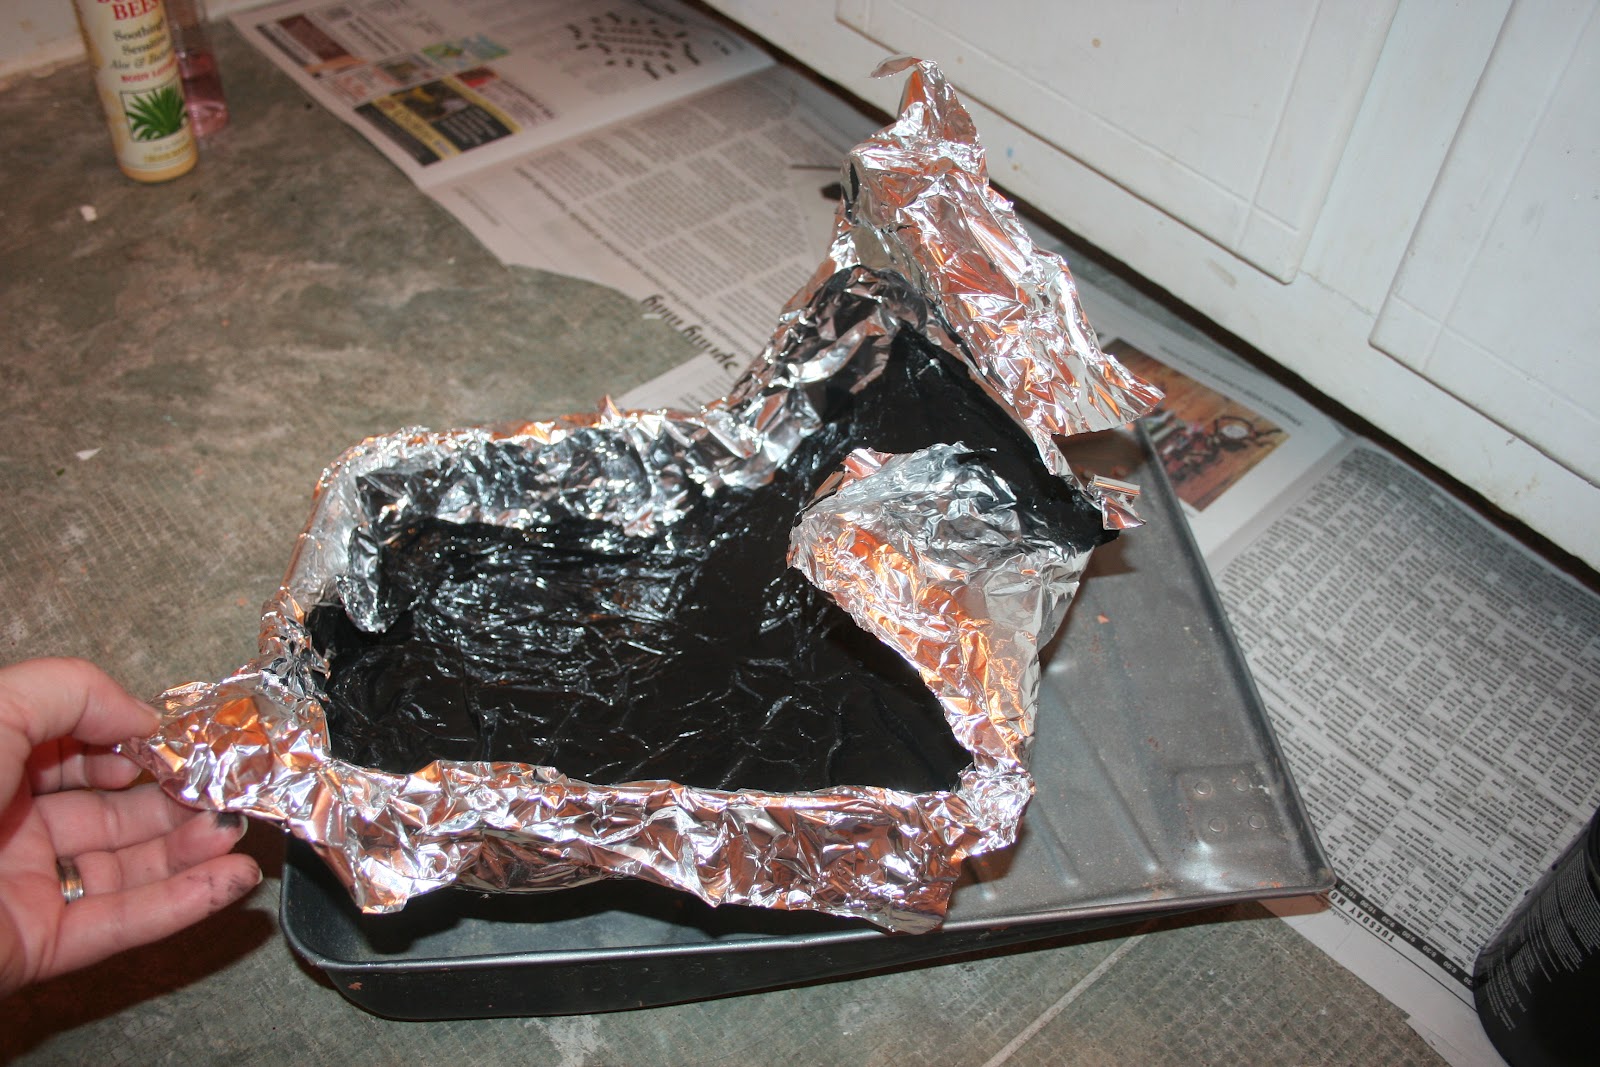
A little trick for you! If you line your paint pan with tin foil, your cleanup is a whole lot faster! Just pull out the foil and toss it in the trash.

Be sure and use painters tape to tape off the other areas so that you don’t paint anything on the surrounding areas.

Each can from the kit is labeled so that you know exactly which layer goes when. The instructions and the instructional DVD are really great! Don’t worry about lines, they even out on their own!
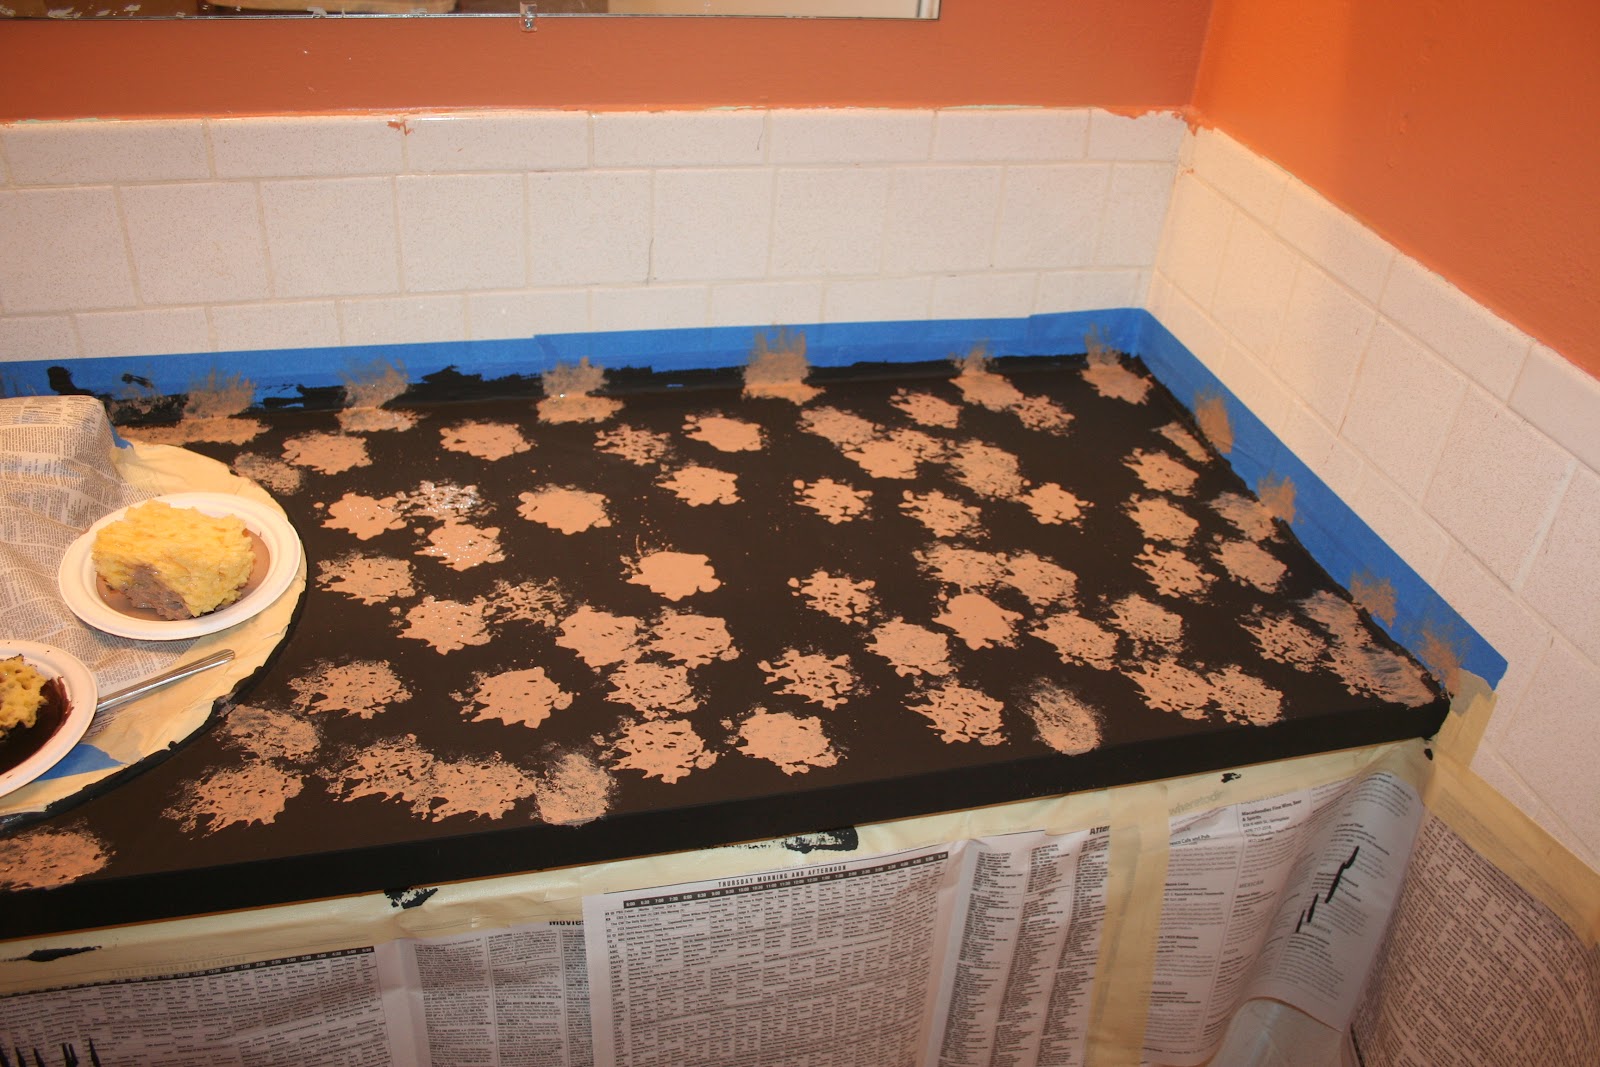
Sponge on the first layer. Randomly.
It’s labeled, you’ll know which one!
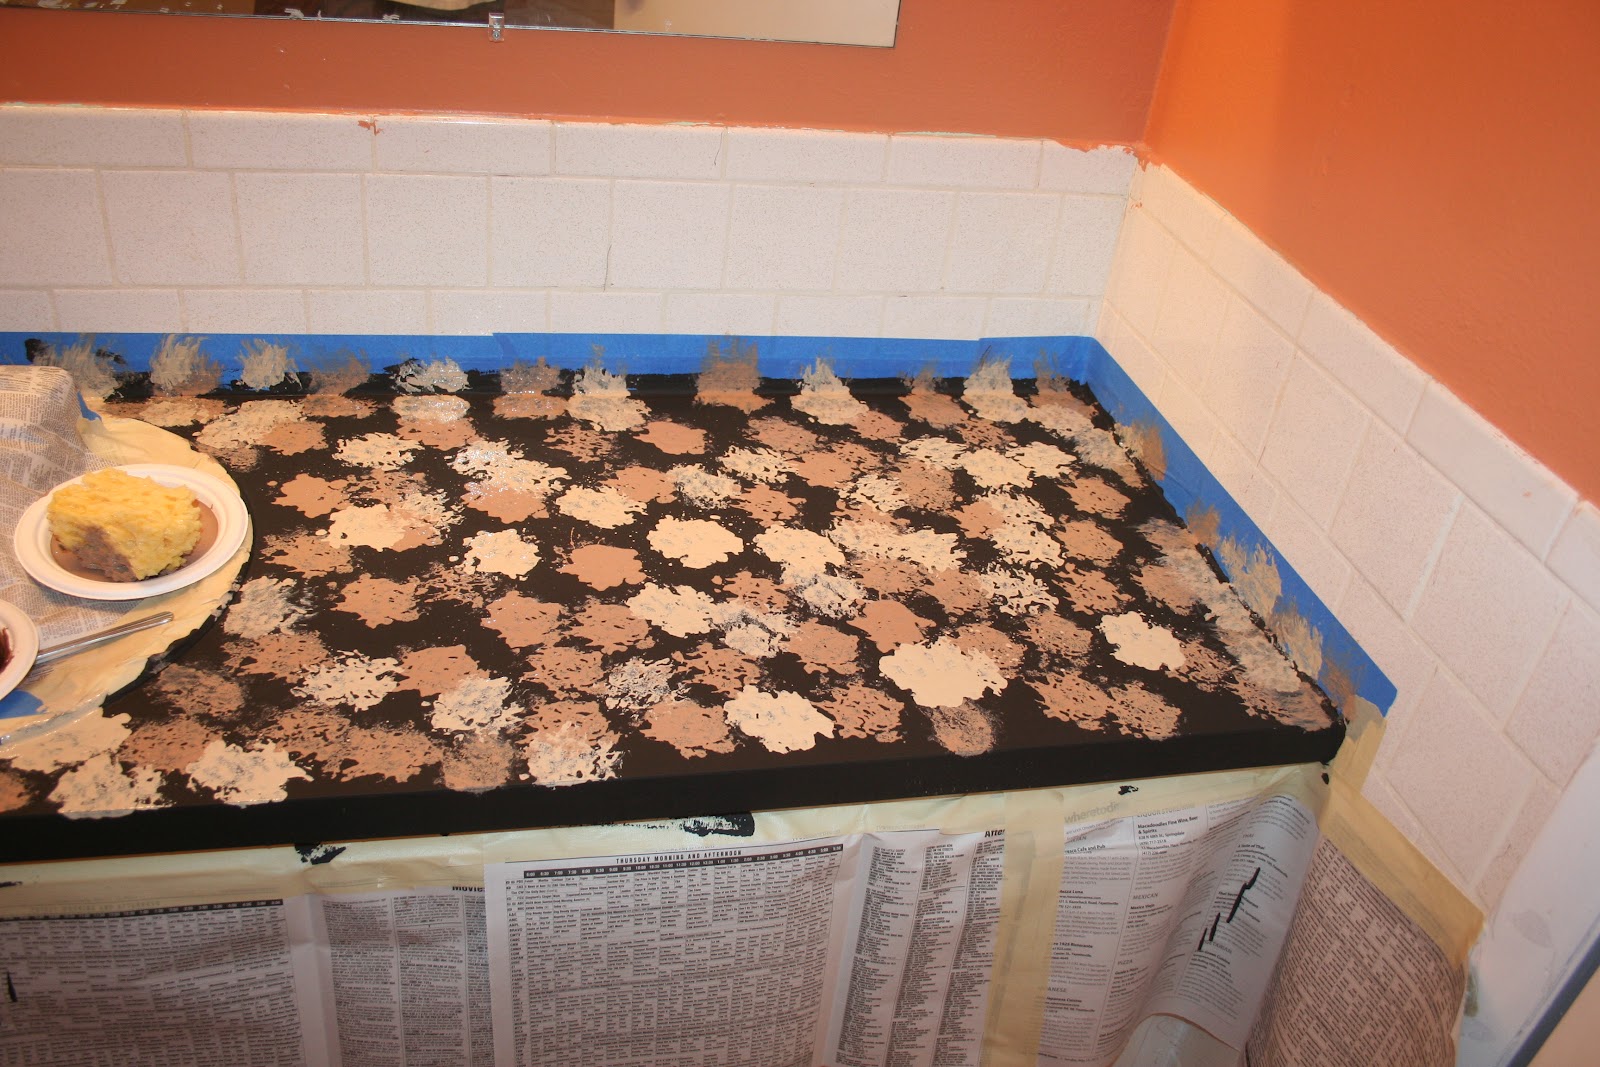
Then the second layer. You don’t have to wait for dry time! 😀
Next?
You guessed it!
The third layer! LOL
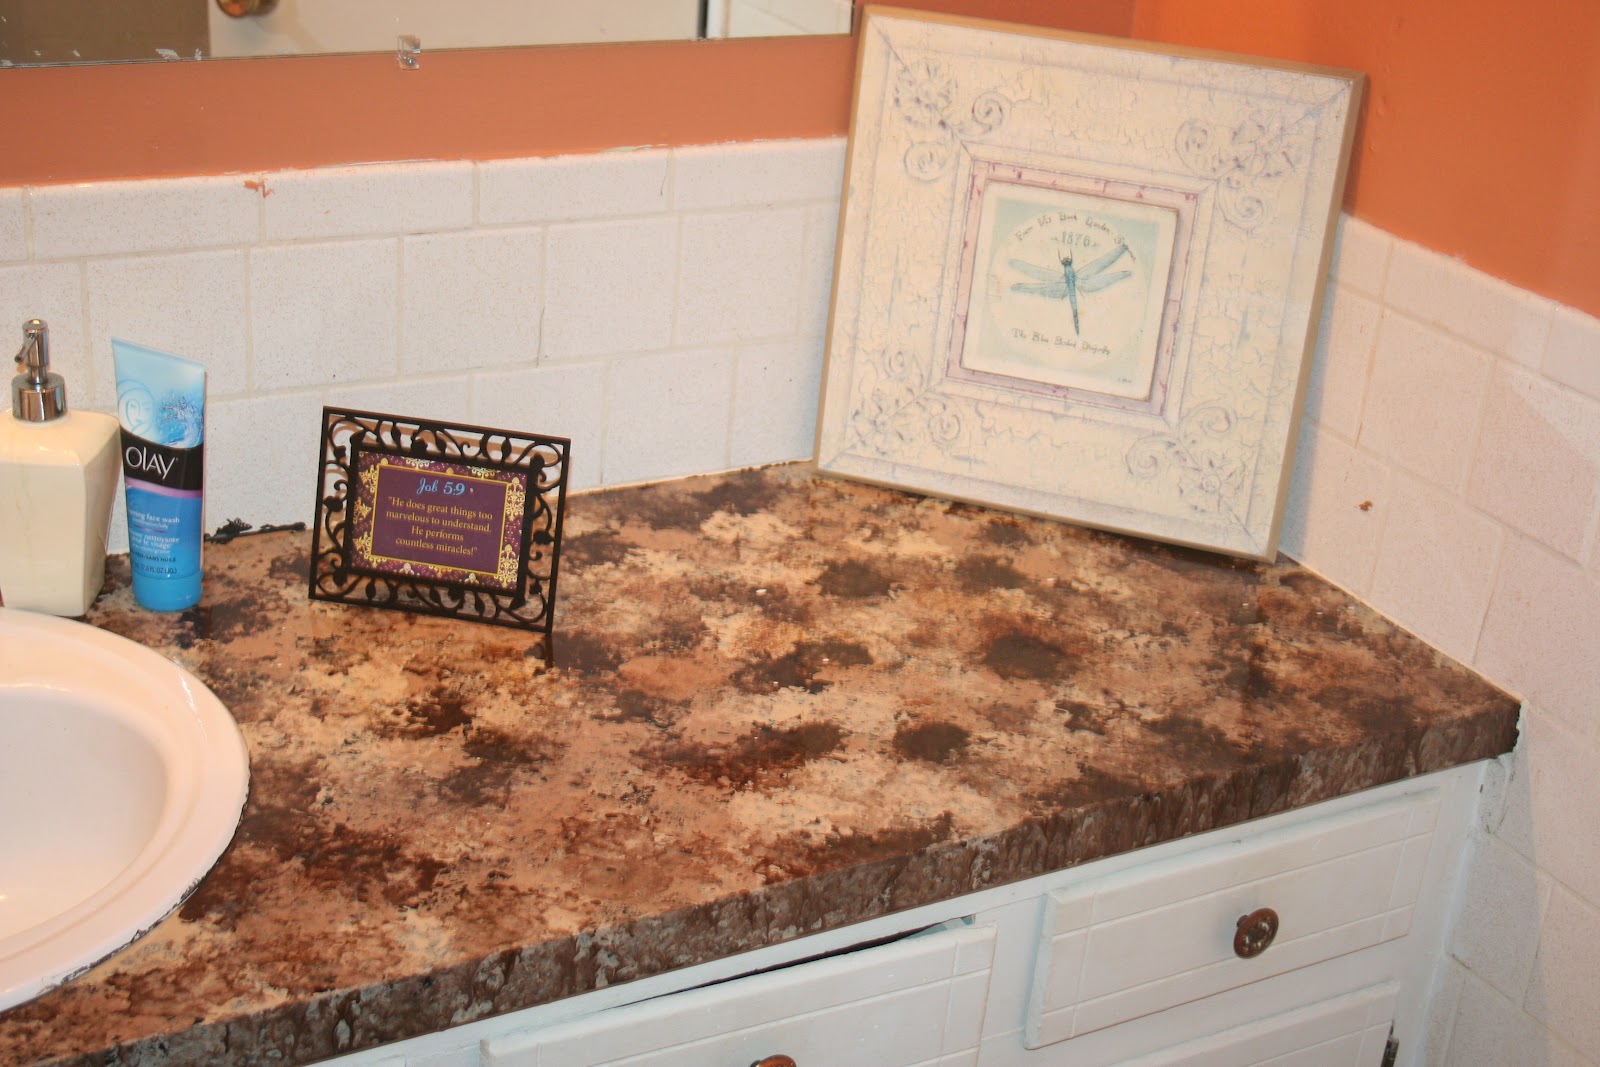
I know, it doesn’t look like much. Next you go through and blot any places that you’ve missed with random colors. Since there is no real formula for blotting, you don’t have to worry about messing up! Do the same along the edges. I forgot to get pics, sorry!
Little show stealer, she found the markers and went to work. Then she decided she had to have a pic while I was taking the finishing shots, thought I’d share with ya! 😀
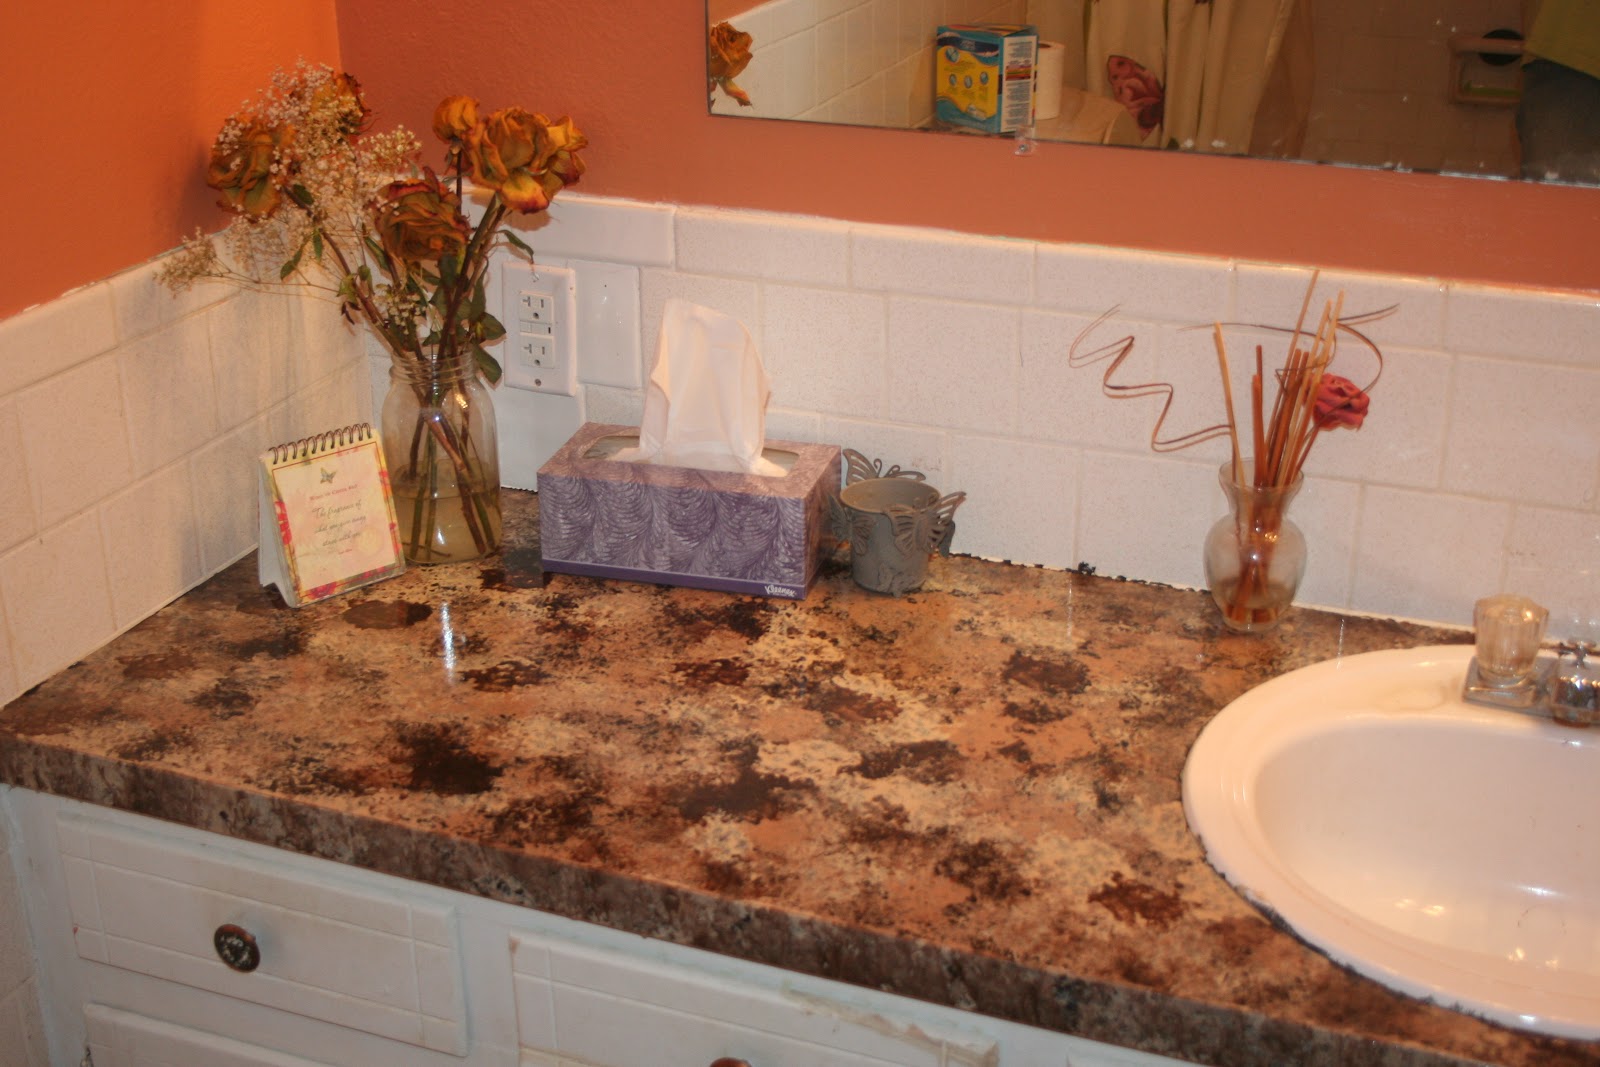
Voila! My new ‘granite’ countertops! Super easy, foolproof! And I love the way it turned out!
If you’d like to try it out, you can go
here.
I promise, no craftiness needed! You can’t mess this up, because it’s all about randomness!
[amazon_link asins=’B0034IGVV2,B00BMU9QMK,B01MYQ9HB7′ template=’ProductCarousel’ store=’myc084-20′ marketplace=’US’ link_id=”]
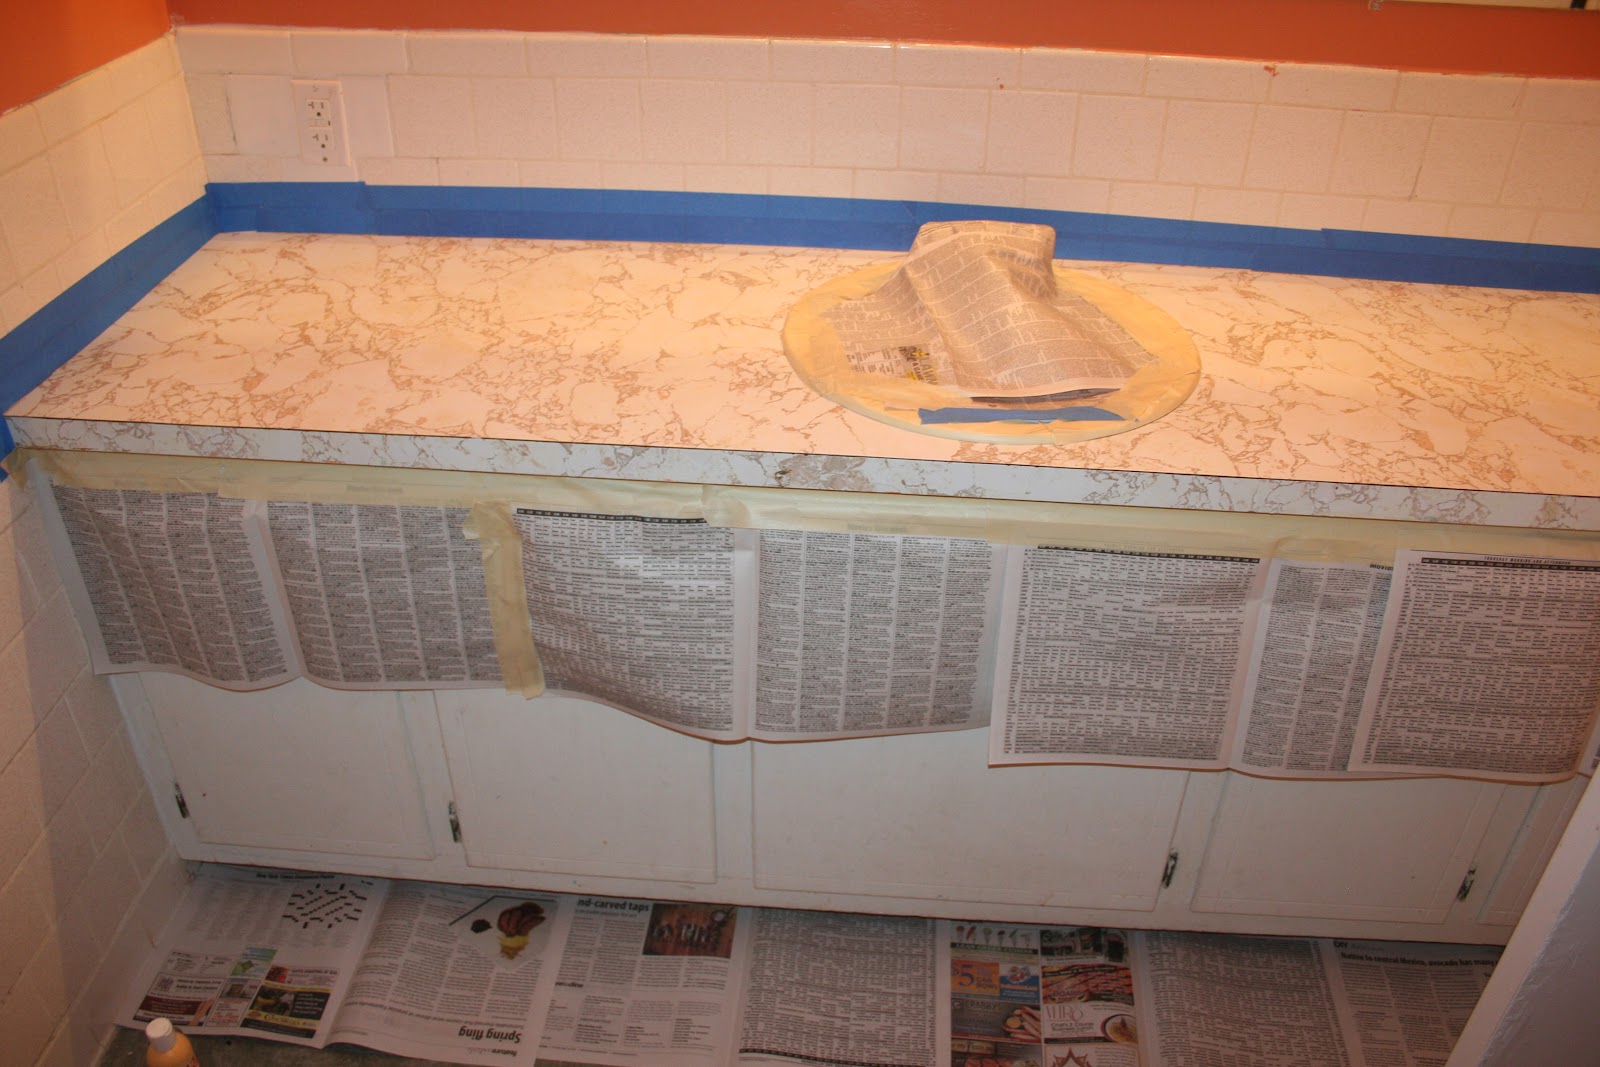
 Be sure and use painters tape to tape off the other areas so that you don’t paint anything on the surrounding areas.
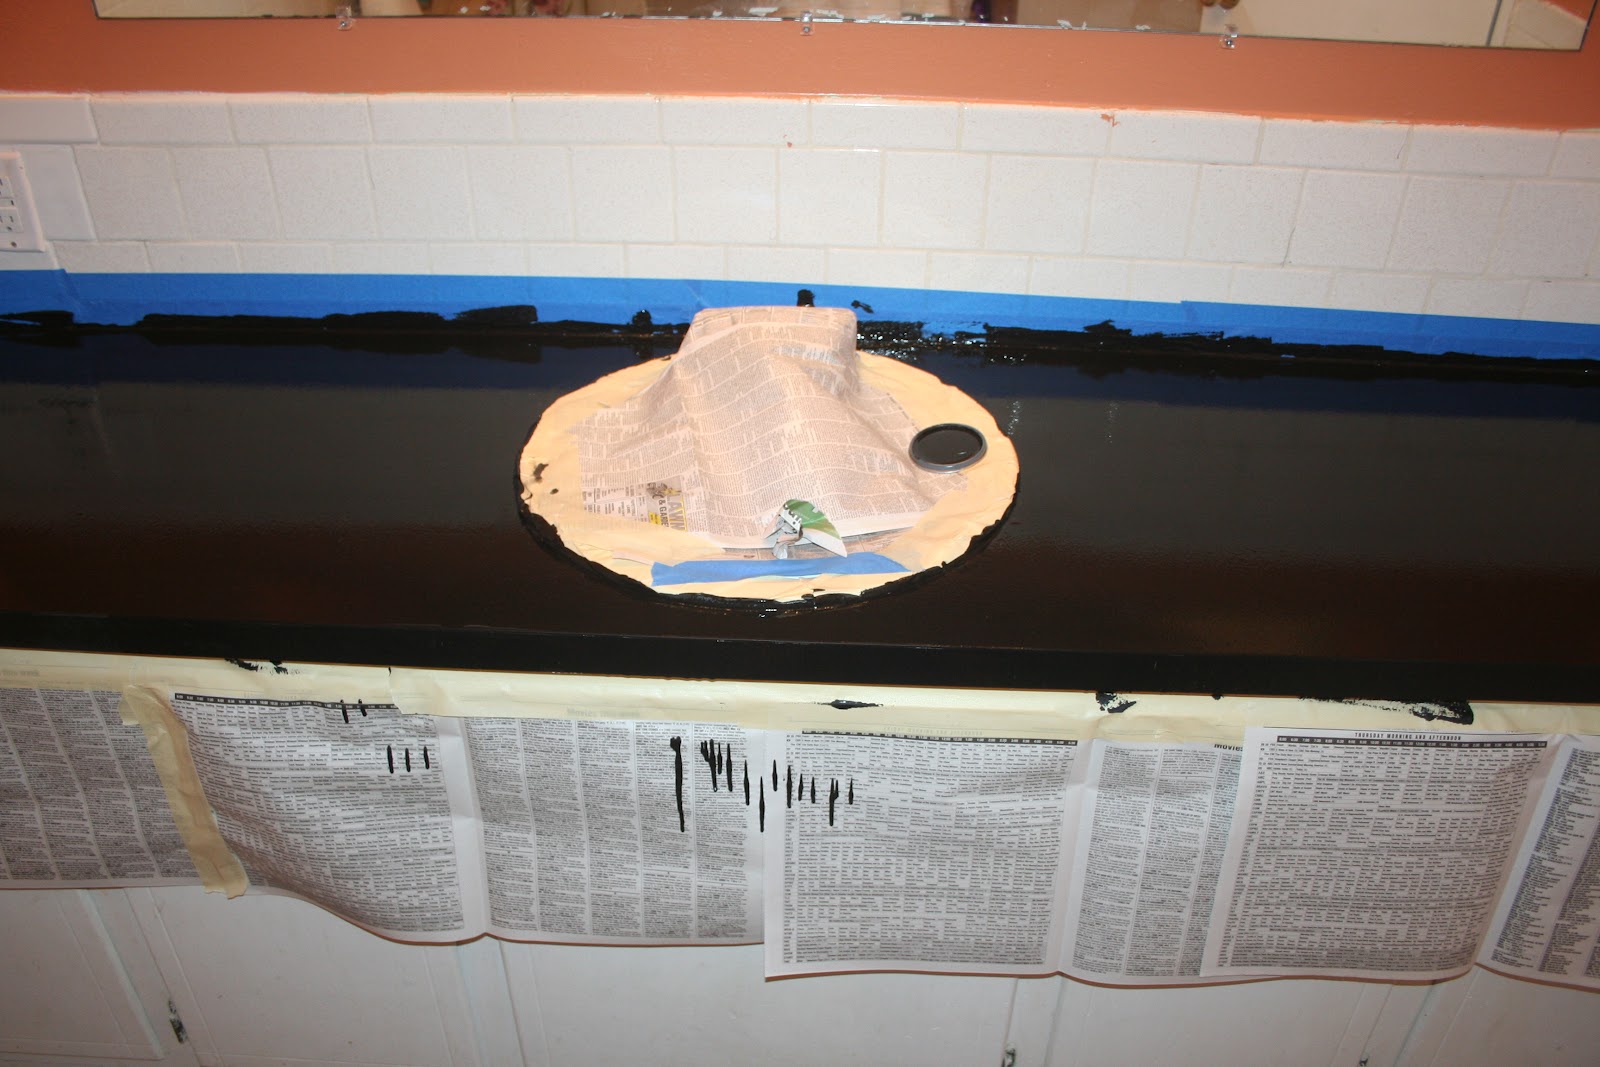 Each can from the kit is labeled so that you know exactly which layer goes when. The instructions and the instructional DVD are really great! Don’t worry about lines, they even out on their own!